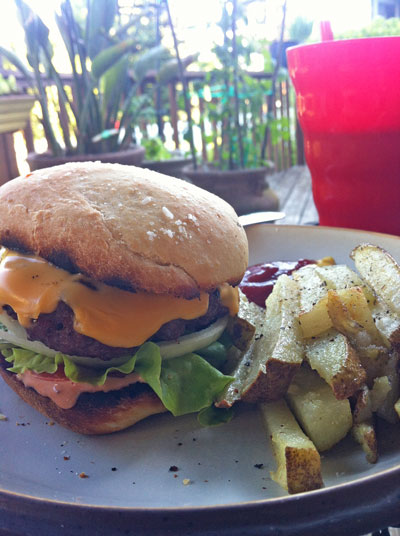
From the archives, a friendly reminder that homemade buns are so worth that extra effort!
Original post:
Here’s the thing with this post… It was a warm day, Brian and I(mostly Brian) were building tomato cages, pea trellises from branches, weeding, mowing, cleaning, and baking of course. To be honest by the end of it all, I forgot to take the finshed product photo. I realize this is going to happen from time to time in the blog world. But thanks goodness I remembered to take the Instagram photo, so that is what I used! It’s a ground chuck burger with tomato, lettuce, and onion from the garden. Plus American cheese, and a 50/50 mayo ketchup spread, and toast the bun when you grill the burger. It tasted as good as it looked. I also used them for salmon burgers, veggies burgers, and soon to come homemade sausages and hot dogs!
It being summer, and grilling season, what better way to accompany your grilled foods than a homemade bun. It is easier than you may think. This is going to be a sort of in depth post, so bare with me. I just want to make sure to include all of the steps clearly for those of you who have never made bread and want more photos to see the process. Lets get started!
This recipe is from King Arthur Flour.
Homemade Burger and Hot Dog Buns, you’ll never look back!
Ingredients:
3/4 cup lukewarm water
2 tbsp butter
1 egg
3 1/2 cups All purpose Flour
1/4 cup sugar
1 1/4 tsp salt
1 tbsp instant yeast, or 1 1/2 tbsp Active Dry yeast
PREHEAT OVEN TO 375 DEGREES WHEN THE BUNS ARE PROOFING
How To:
1. If using Instant yeast put all of the ingredients into a stand mixer with dough attachment, or in a bowl to mix by hand, or a bowl with hand mixer. If using Active Dry yeast, place the yeast and warm water in a cup, let stand for 5-10 minutes, like the photo below… When frothy and ready, add the yeast mixture to the rest of the ingredients. Mix until you get soft, smooth dough. This took me about 7 minutes.
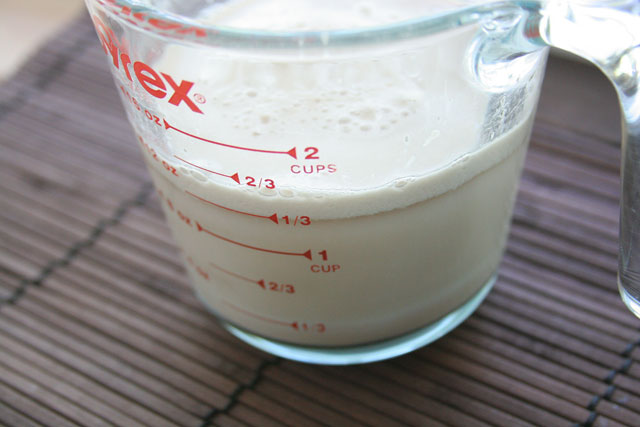
Frothy ready yeast, notice the bubbles? That shows you the yeast is alive and kickin!
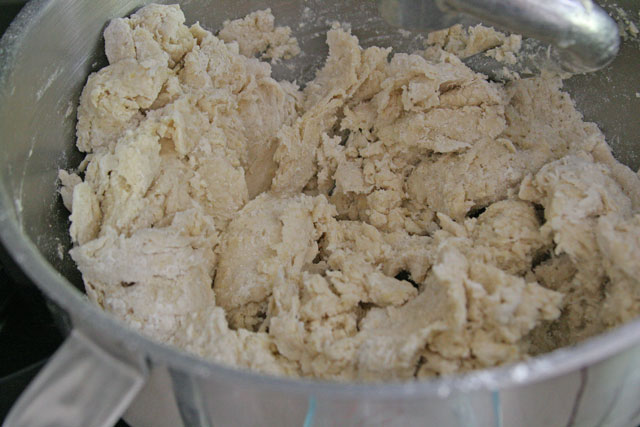 This is the dough mixed for about 3 minutes, it hasn’t come together to form a nice smooth ball, so I mixed it for another 5 minutes, like below.
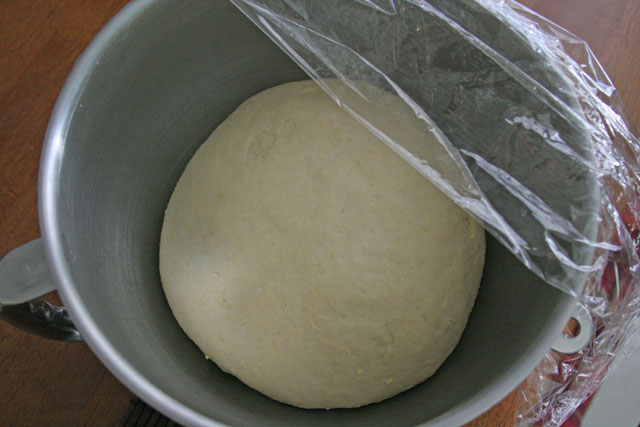 Nice smooth dough, ready to be covered and bulked/doubled.
2. Cover the dough with a towel or plastic wrap loosely, and let it rise for 1 to 2 hours, or until it’s doubled in size. I put mine next to a window with the blinds closed.
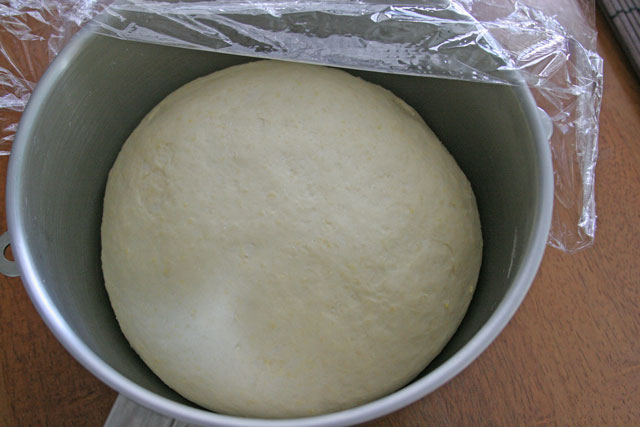
Bulked/doubled
3. Lightly flour the counter and gently place the dough ball on the floured surface. Gently deflate the dough with the tips of your fingers, and divide it into 12 pieces. I did a pan of hot dog buns and a pan of burger buns. How you divide them is up to you. Shape each piece into a round ball, flatten to about 3 inches across for burgers. For hot dog buns shape into a 4 inch “cylinders”. Place the buns on parchment lined baking sheet, cover with plastic wrap loosely or a kitchen towel. I chose to go with my cast iron pans for this step and for baking, but either would work. Let rise for about an hour, or until doubled in size. Preheat the oven to 375 in about 40 minutes.
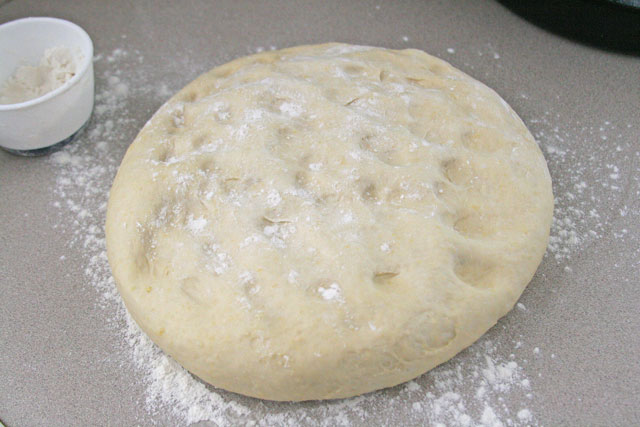
Finger tip gently deflated dough
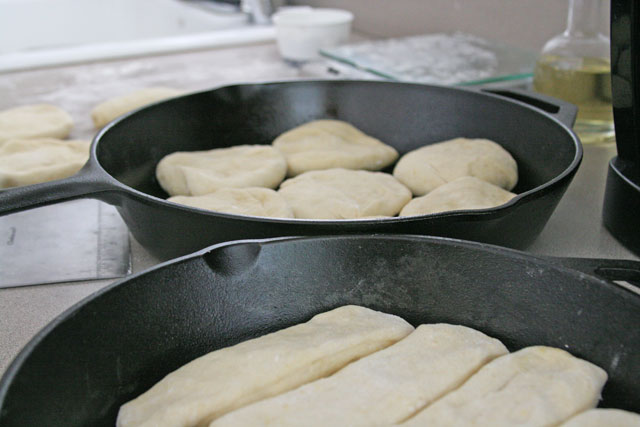 Ready to be covered and proofed/double in size
4. Brush the buns gently with half of the melted butter. Bake the buns for 15 to 18 minutes, or until golden brown. Remove from the oven, and brush with the rest of the melted butter. This will make them more tasty.
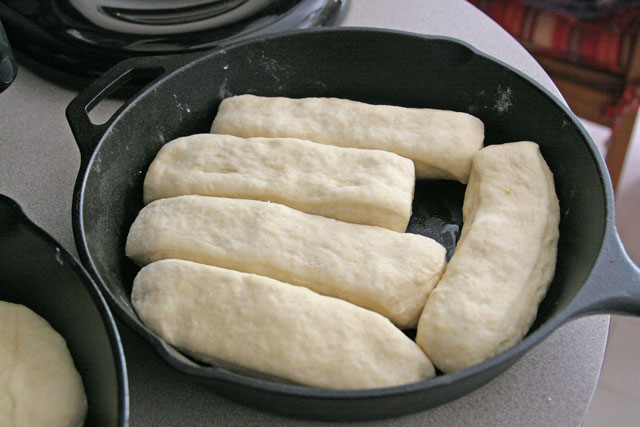
Proofed/doubled and ready to bake
5. Cool the buns on a rack. Let cool about 20 minutes before cutting into them. Or refrigerate for up to a week, and to use reheat them in a toaster, or grill for a few minutes. For later use, freeze them in an airtight bag for up to three months. When you need them, take them out of the freezer, and place them on a cooling rack to allow to thaw properly for a few hours.


Mary @ Fit and Fed
King Arthur Flour has good recipes, they also respond in detail if you ask them a question! I’ve used and enjoyed their onion bun recipe for homemade hamburger buns a couple of times.
Mary @ Fit and Fed recently posted..Mango, Avocado and Roasted Corn Salad with Creamy Ginger Dressing
fabiola
That’s pretty cool!
Kiran @ KiranTarun.com
The homemade buns looks absolutely divine! I need to try this recipe soon 🙂
Kiran @ KiranTarun.com recently posted..Baked Skillet Pancakes
steph@stephsbitebybite
Homemade buns! I could get hooked on these!
nessa
I’ll have to try these for our next barbecue!
Laura (Tutti Dolci)
Homemade buns sound fantastic!
Laura (Tutti Dolci) recently posted..apricot curd tart
lindsay | rosemarried
Oh my goodness, I’m not sure why I’ve never thought to make my own burger & hot dog buns. These look AMAZING. Love it, thanks for the recipe. Totally going to do this!
lindsay | rosemarried recently posted..Roasted Cherry Tomato Bruschetta with Balsamic & Honey
fabiola
Yeah! I’m so glad, you will love making these. I love making bread. It’s my favorite.
Eileen
Ooh, great idea. These homemade buns sound like they’d kick the backyard barbecue session into high gear in no time! (Now to actually haul the grill out of the garage…)
Eileen recently posted..Raw zucchini rolls with cashew cheese and heirloom tomato
fabiola
Haul it!!! And then make these buns, you know you won’t regret it.
Brook
You totally just made my day Fabiola!!! I have been wanting to make these myself for awhile now…
fabiola
Yeah, I love making peoples days:).